T
-
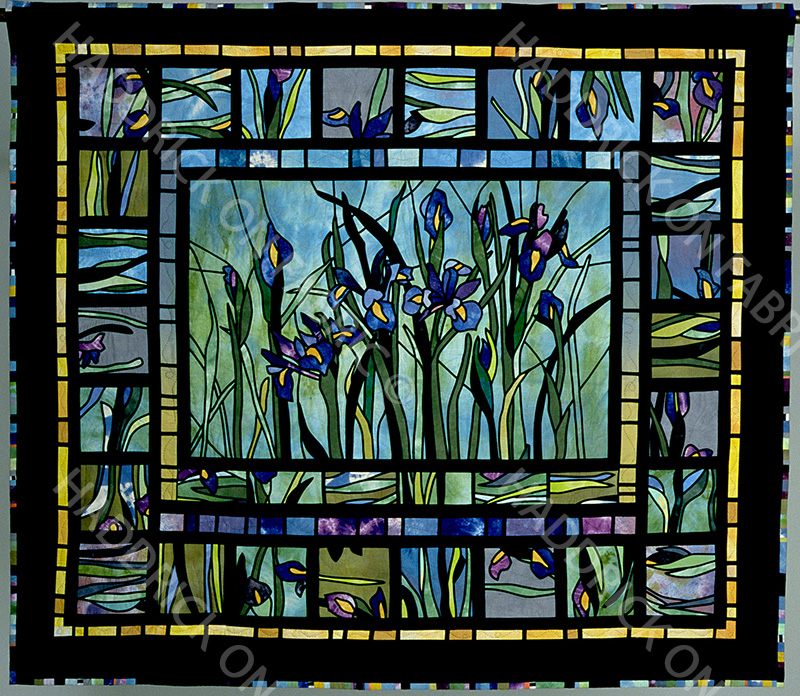
IRIS in FAVRILE
Full Size Pattern of Centre Panel with instructions for making the centre panel. Assembling guidelines for entire quilt.
-
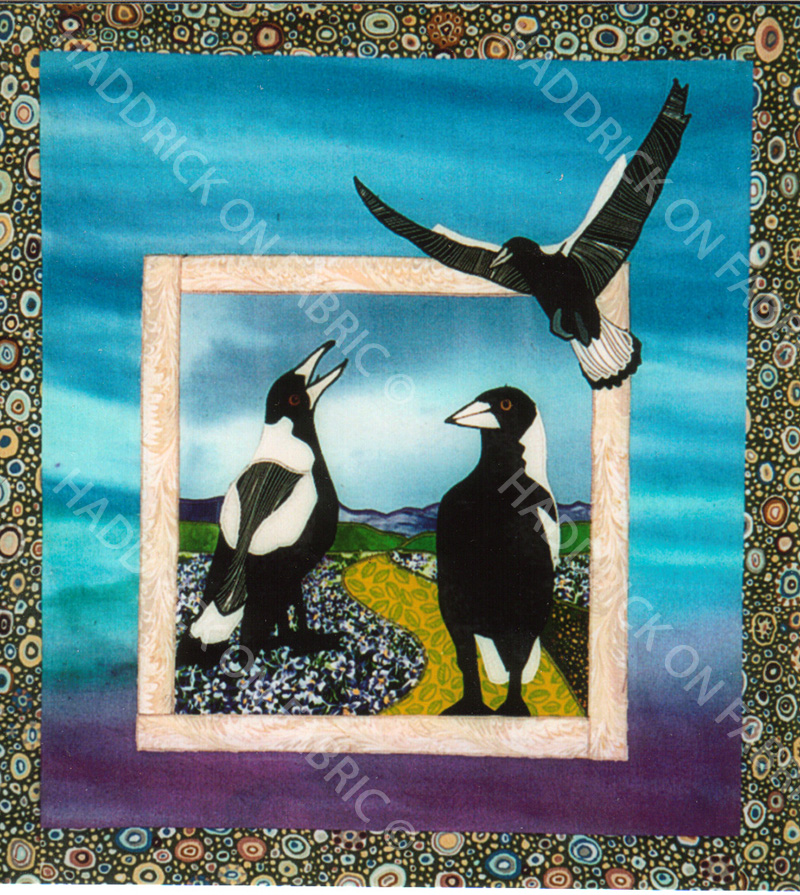
MAGPIES MEETING
Birds of Australia Series Wall Quilt Pattern for machine, Hand and/or Stained Glass Appliqué Full size Pattern Sheet
-
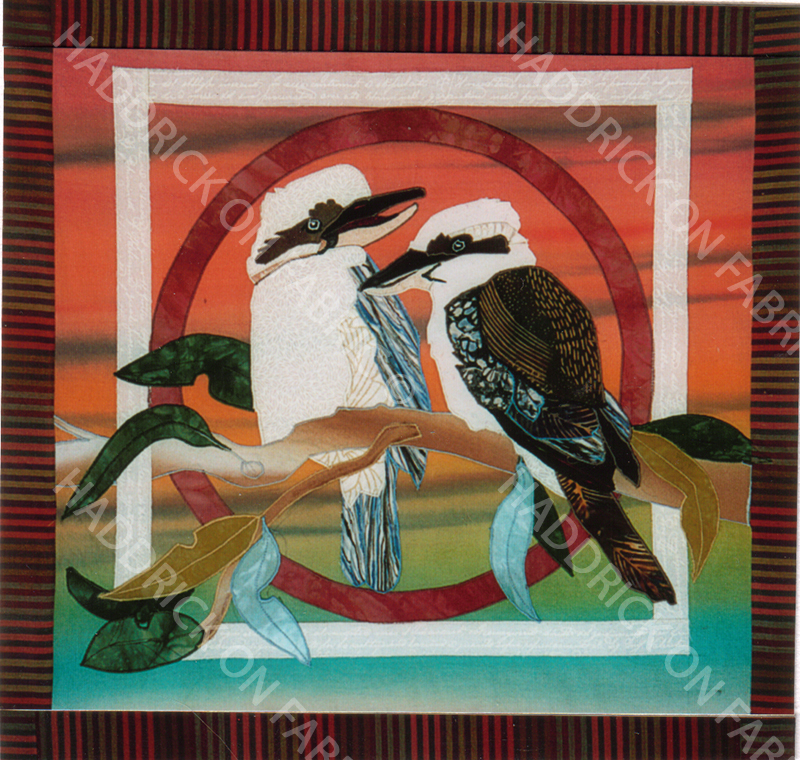
KOOKABURRA’S LAUGHING
Birds of Australia Series Wall Quilt Pattern for machine, Hand and/or Stained Glass Appliqué Full size Pattern Sheet
-
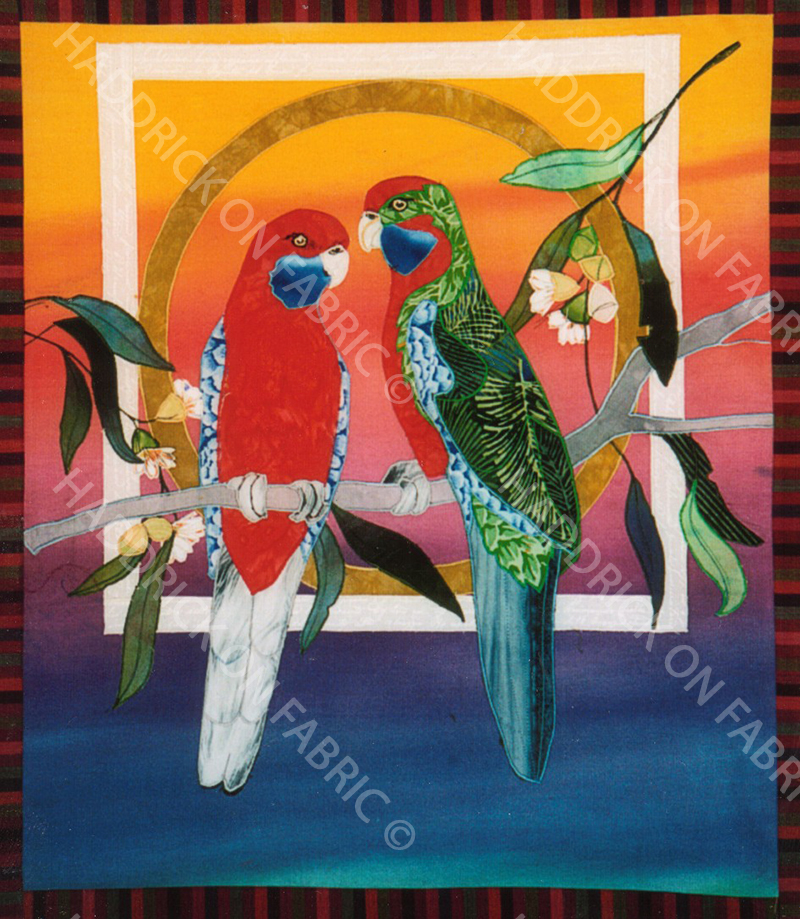
CRIMSON ROSELLA
Birds of Australia Series Wall Quilt Pattern for machine, Hand and/or Stained Glass Appliqué Full size Pattern Sheet
-
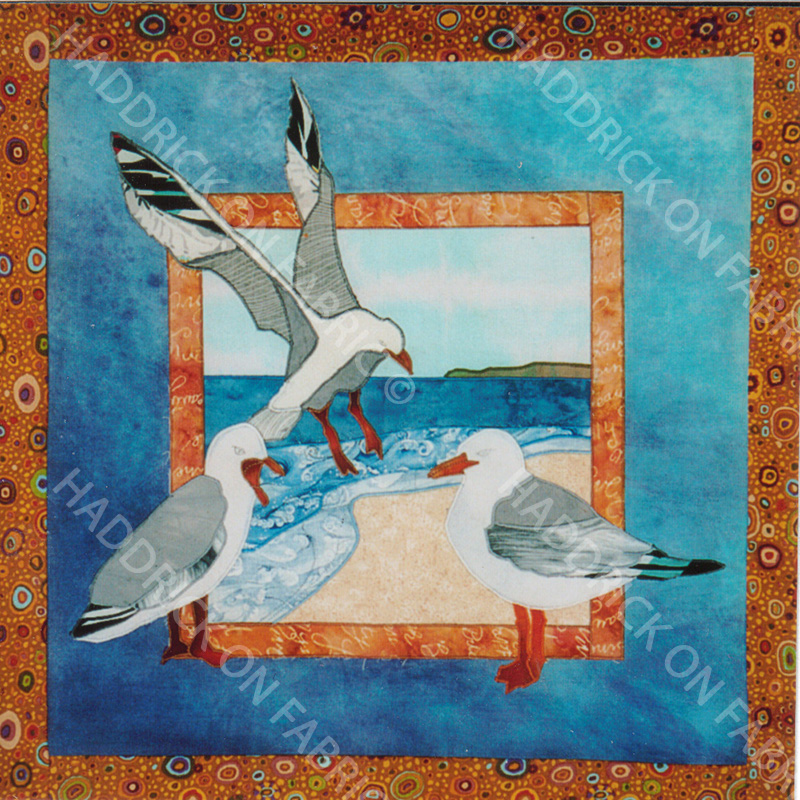
SILVER SEAGULL’S
Birds of Australia Series Wall Quilt Pattern for machine, Hand and/or Stained Glass Appliqué Full size Pattern Sheet
-
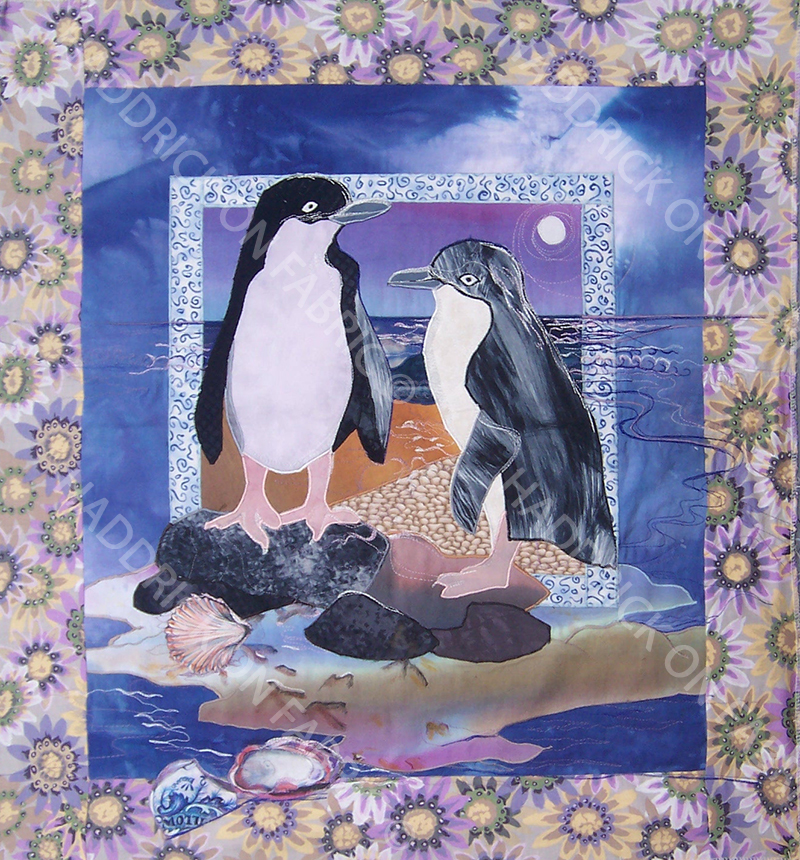
FAIRY PENGUINS
Birds of Australia Series Wall Quilt Pattern for machine, Hand and/or Stained Glass Appliqué Full size Pattern Sheet
-
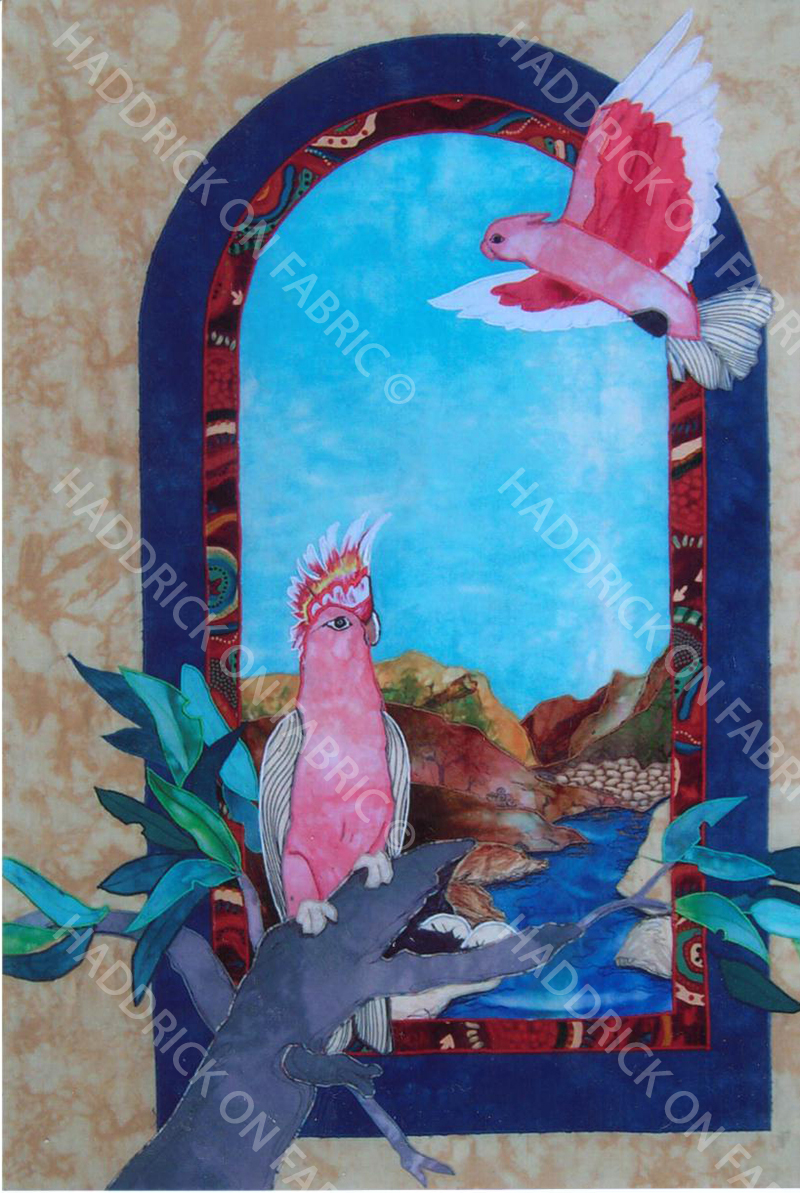
PINK COCKATOO
Birds of Australia Series Wall Quilt Pattern for machine, Hand and/or Stained Glass Appliqué Full sized pattern sheet